. . . . and here's a link to the thread on XRV . . . . http://www.xrv.org.uk/forums/bodgers-co ... oject.html Steve T
Brilliant Steve, Nice job there, you'll be making a set of panniers soon I take it yet more road signs have managed to weedle their way into your back garden ??
Any chance of a dimensioned drawing of the template, pretty please? Sent from my GT-I8160 using Tapatalk
That would require me to measure things and work out angles of dangles, which is not something I tend to do - just knock up a template with some card / cardboard, using the mounting points on the machine as the "fixed" points of the "design", then just hack away at the cardboard till I've got what looks good to me. Transfer that to sheet alloy, hack away with jig-saw, file & drill, bend as required and then curse and swear when mounting the thing to the bike, cos I've forgotten something obvious, like the proximity of the frame tube to a mounting lug So I'm afraid the answer to your question is NO Steve T
Cheers John Never. Panniers need to have straight edges and the various bits need to line up with each other. Far too intricate for my little digits to accomplish Ssssshhhhh. And anyway, it's called re-cycling in my house Steve T
Ah well! :cool-0014: Worth a try ........ I'll just have to find some cardboard and get all "Blue Peter-ish". How did you get the bends in the ally so neat and even ?
They're somewhat more aerodynamical when they have rounded edges, so who knows, you might come up with something great...
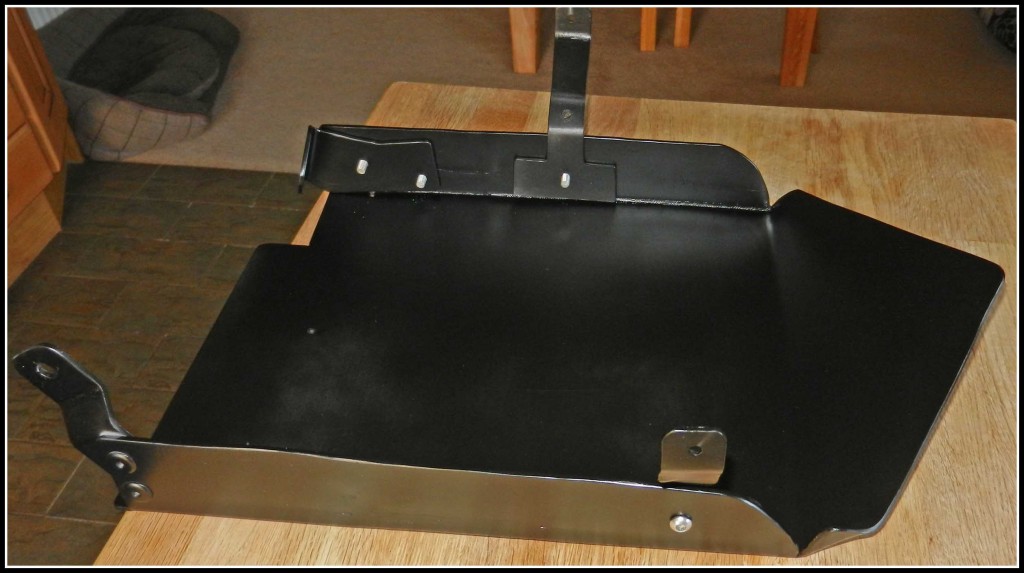
Re: All bends were achieved either using the jaws of a vice or with various lenghts of straight edged timber, or even both together for deeper sections of alloy that wouldn't fit in the jaws of the vice on their own. And everything was "moved" angle wise with basic muscle power or the artistic use of a hammer I'll try and get a picture of the card template opened out, to give you an idea of what I worked with before bending commenced. Steve T
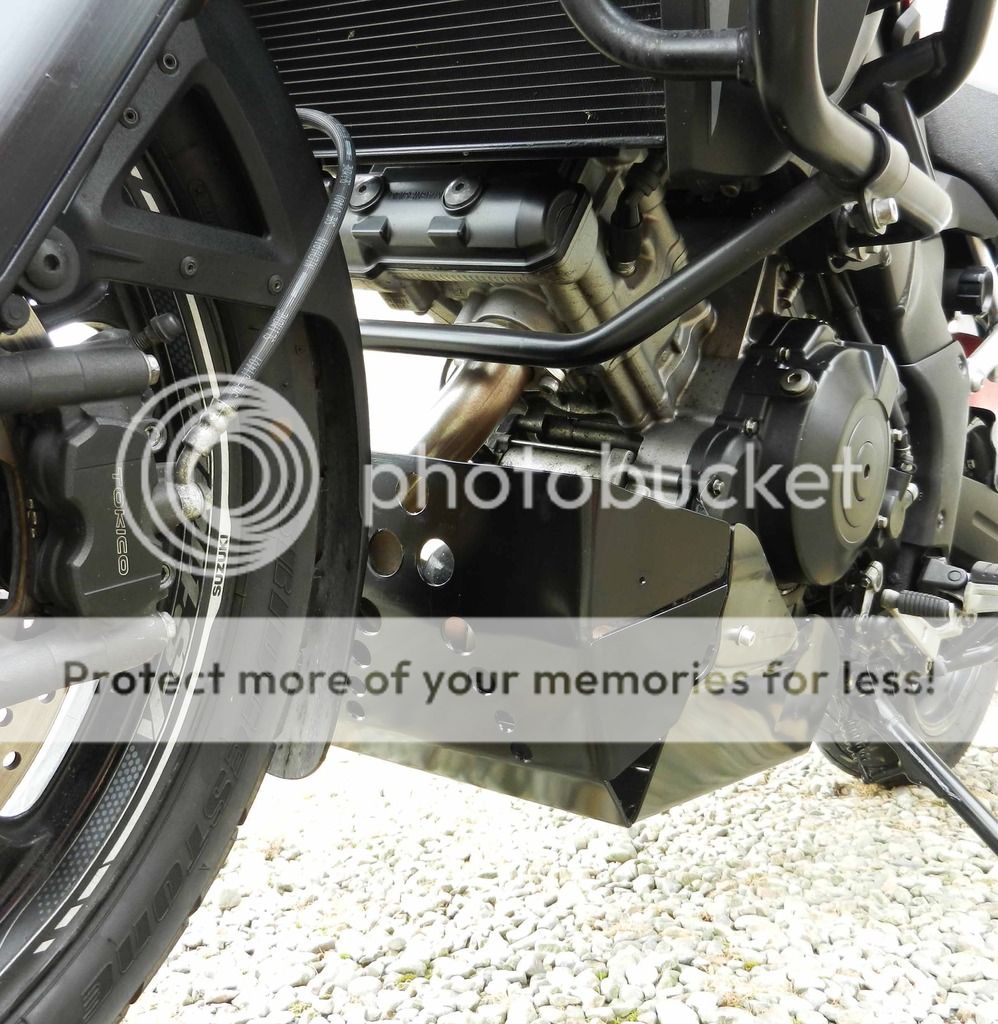
Thought I'd re-awaken this thread by adding my latest Uri Geller creation Not my bestest work - I blame that sticky-out front exhaust for preventing me creating a flowing piece of metal art-work for the belly of the Strom It'll stop stones dancing off of the oil filter and sump, and maybe provide a little side protection for the engine cases. This is NO log hopping machine, so it'll do just fine Steve T
The photo flatters my workmanship but thanks for the kind comment Steve T PS - it isn't as clean as that now
Nice one sunshine, immaculate as ever So what has Grampian's finest lost this time ? Beware loose chippings, Slow ahead, Traffic control ahead ? --- Or the old favourite, some noncy tourist attraction sign ?
And I thought I'd hidden all of the evidence Lossie beach is without a direction sign - not my doing - I found the sign sitting behind the workers shed after a new one had been erected Steve T
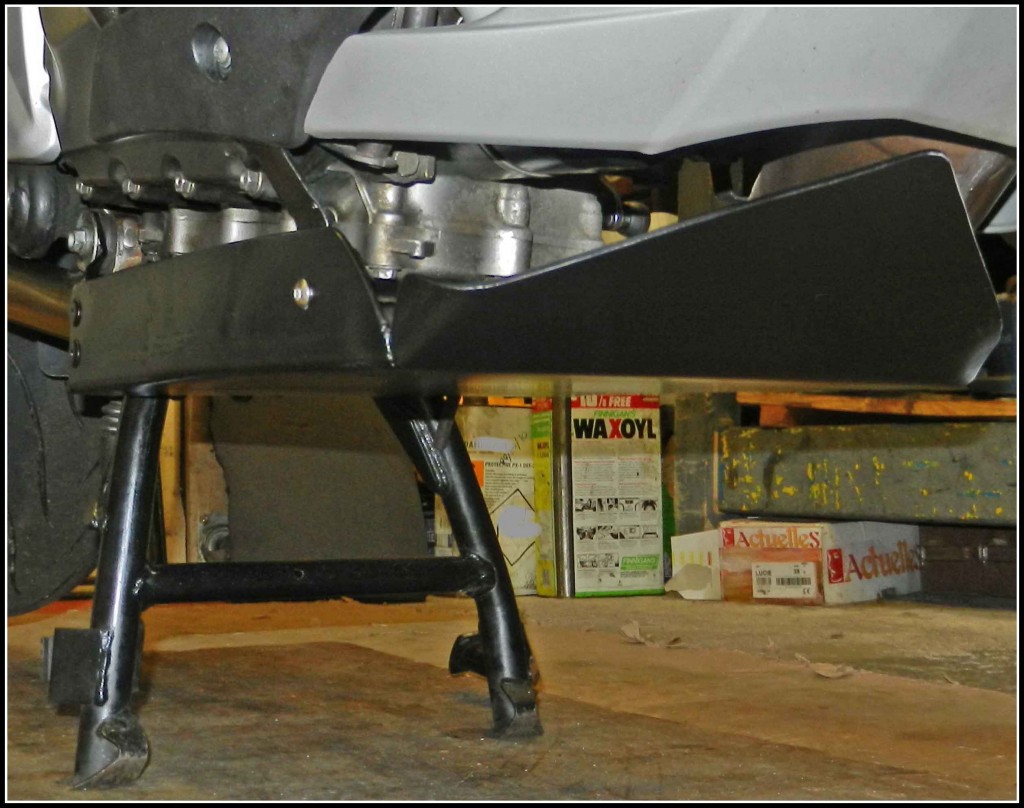
Thought I'd add to the list of bikes I've bodged a sump guard for . . . After giving the top of the centre stand a good clout whilst wandering over a track last year and, on inspection, realising how exposed the sump was on this little machine, I decided to knock up a simple sump protector. Having taken a good look at the Trex sump guard for this model of bike, I’d originally planned on making a copy of it, using the same mounting points and trying to match the overall size of their sump guard. But seeing as how the standard fit engine guard (the plastic thing) covers most of the front of the engine, I decided that I’d concentrate on protecting the sump. Using the side bolt positions that hold on the stock plastic front engine guard, along with the lower exhaust mounting bolt and the little angled plate in front of the side stand (both used by the Trex guard) I came up with this effort . . . This is the jobby fitted to the bike. I’d hoped to rivet the side mounting plates in place but getting them into the correct location when fitting the guard proved difficult, so I ended up bolting them on. Steve T